Friday, 30 May 2014
Una casa con vistas /A house with a view

My favorite projects
Hello and happy Friday! It’s the unofficial start of summer for us – I’ve never been so ready!
I can’t believe it’s the end of May already – time is passing by so fast. Fall will be here before we know it. (If you saw my FB or Instagram this week you know Hobby Lobby already thinks it’s here.) ;)
It’s been a few months since I rounded up some of my favorite recent posts so I’m combining March, April and May into this one!
I got a ton done in the master bedroom earlier this year – it’s coming along so well! The first big project was beefing up the baseboards without taking off the old ones:
I LOVE THEM. It makes a huge difference in the room!
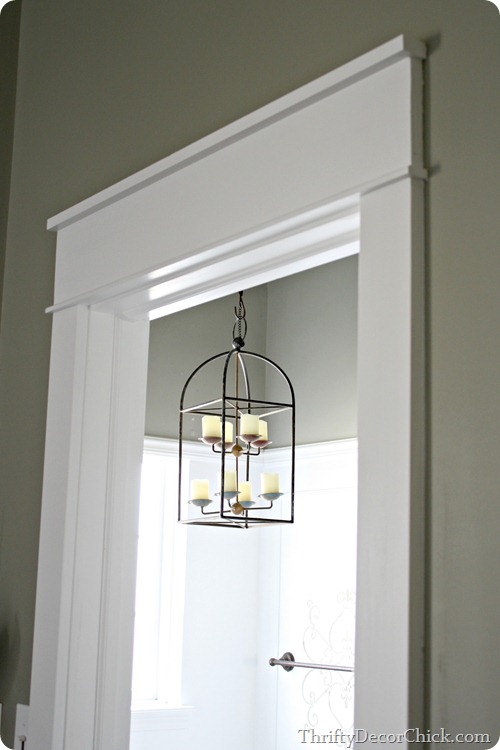
I continued the chunk with new DIY craftsman door trim as well:
Sigh.
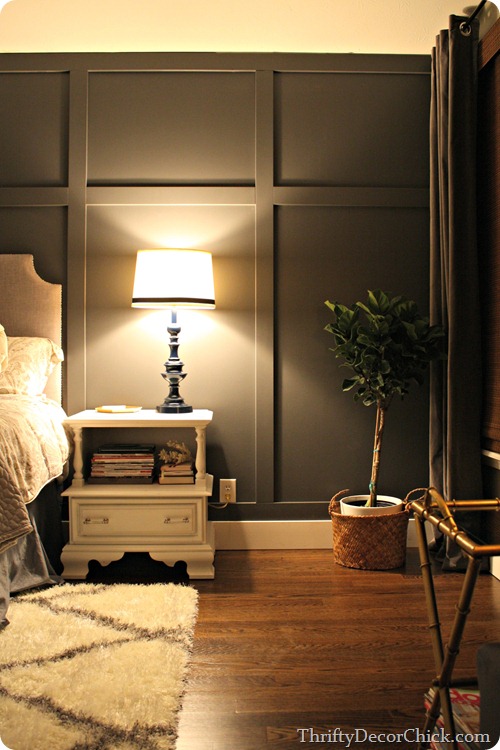
Because there wasn’t enough new wood on the walls, I covered the wall behind the bed with a wall treatment in a dark gray:
I’m SO pleased at the progress! I kind of pooped out on it a month or so back so I need to get going on the rest of the plan now.
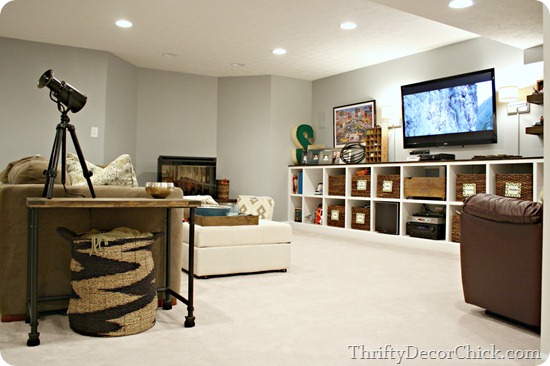
It’s been a couple years since we finished our basement – I’m so thrilled we were finally able to do it. I went through the process and how we had it done on a budget in this post:
I have a big plan for that TV wall – I may work on that this weekend. :)
I shared a few of my favorite online resources for free art in this post: 
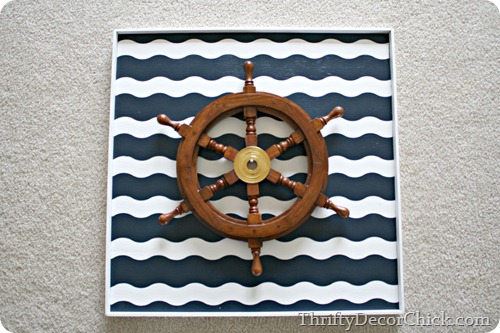
And made some fun new art for the kiddo’s bathroom with scrap wood and wavy FrogTape Shape Tape:
So preppy, I love it!
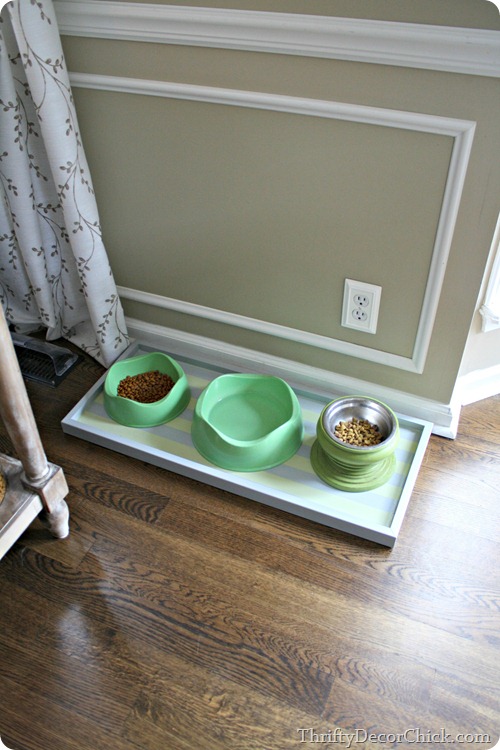
I made a very simple pet food tray with more wood from the garage pile and showed you how here:
It’s such a little thing but it works SO well. No more water or food messes on the floor!
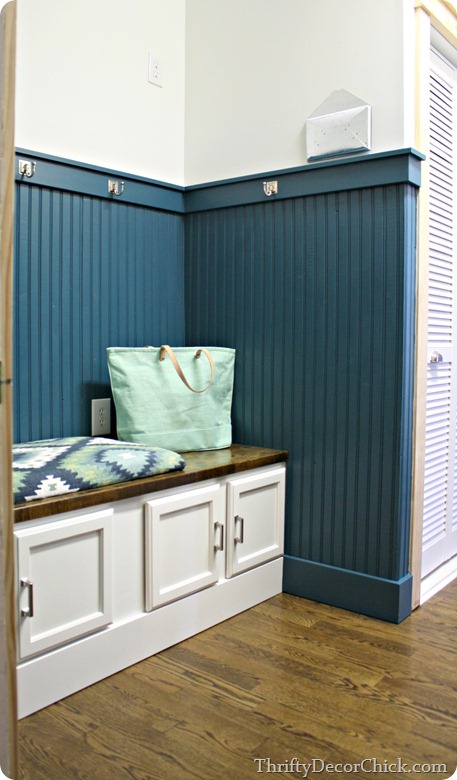
Our mud room got some pattern and texture with the DIY (no sew!) cushion I made for the bench:
This is another space I stalled out on, but I hope to get more done in there soon. It’s so functional though – that bench is awesome!!
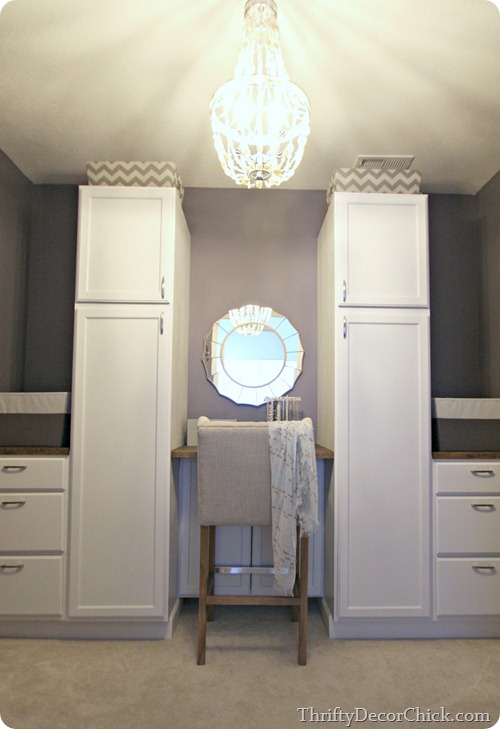
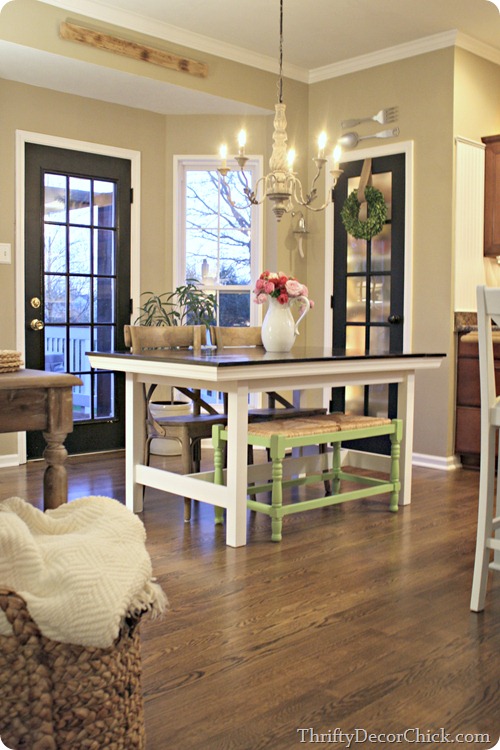
I got a HUGE project done in our master closet -- you have to see the before pics to see how far it came:
I took down all the shelving, filled hundreds of holes, installed the cabinets and then painted them and the walls. It was a ton of work but I did it for way cheaper than what a custom closet system would cost! And I love the dusty purple color, so pretty.
Our living room got a couple updates too – this space is one that has always bugged me and I’m determined to change it up this year. I did a DIY project I’ve wanted to try forever – replacing the window sill so I could install the thick trim: 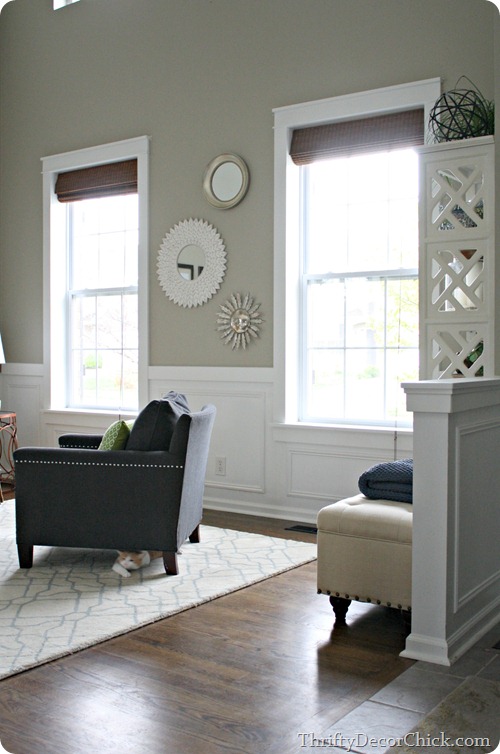
Can you find the smushed cat? :)
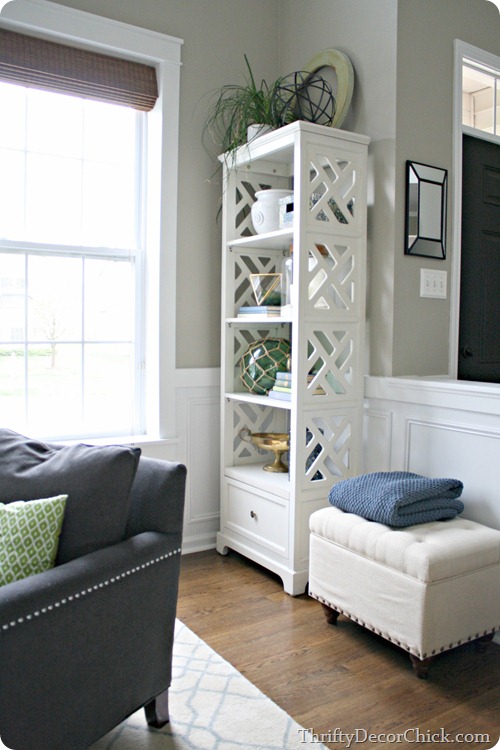
And moving this small bookcase to this corner opened up the room a ton!:
I’m starting to really love this space. Slow but sure. :)
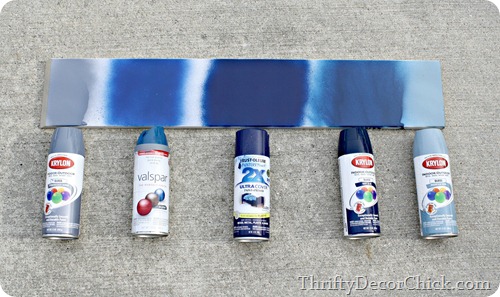
I shared my spray paint “taste test” – and there was a clear winner:
The results even surprised me!
I shared my experience with HomeGoods furniture in this post:
I don’t have many large pieces from there but I counted quite a few HG chairs in our house. ;)
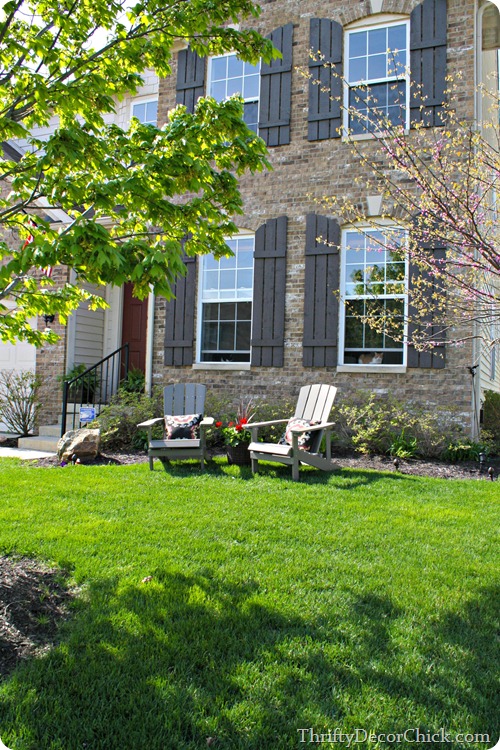
I’ve been back outside for the past few weeks and it’s been glorious! I created a “front porch” where there wasn’t one:
We sit there at least once a day – again, a little thing that I’m so glad I did!
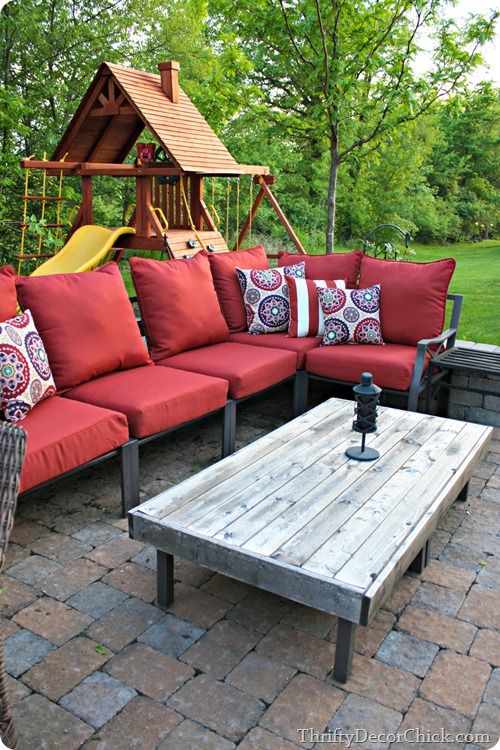
And last weekend I moved some things around on the deck and patio and it feels like a brand new space!:
Finally, I showed you the results of my biggest personal project over the past few months!:
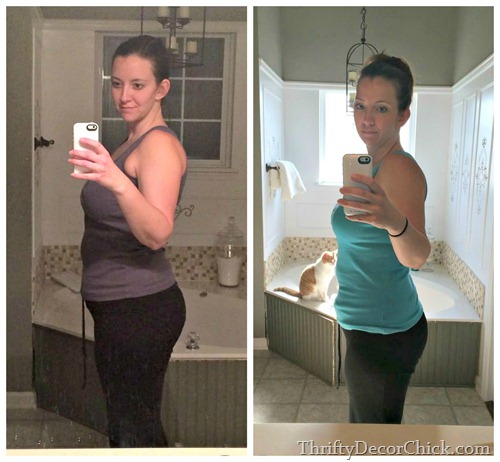 I’ve got more work to do but I’m thrilled with how far I’ve come!
Those are just a few of my biggest projects from the past few months! May has been busy for us so I’m looking forward to things calming down now that school’s out. So happy to see summer!!
Did you miss any of these projects? I think the gray wall in the master is my favorite. :) Hope you have a great weekend and I’ll see you back here on Monday for the June before and after link up!
Fabulous wall art inspiration
 |
| Urban outfitters |
More fabulous wall art inspiration here. And also I've hoarded images of all the wall spaces I love on this Pinterest board. Do you have any tips?
I hope you have a great couple of days! See you Monday with a home tour!
Thursday, 29 May 2014
Hotel rural en la Toscana / Country hotel in Tuscany
Two ingredient scrubs
Well hello all! Are your kids almost done with school? We’re done tomorrow – whoot! I am SO grateful we didn’t have to go an extra week this summer with all the snow days we had this winter. Most of our school systems nearby added some time onto each day to avoid that.
Today I’m gathering some goodies for the teachers and bus driver as a thanks. I like to include something handmade if possible, along with what they really want (a gift card and a handwritten thank you). :)
I’ve seen so many great hand and foot scrub recipes over the years – some complicated and some incredibly easy. I’m going with the latter today.
These are all easy, quick scrubs that only take two ingredients each! I love the first one because it makes a great lip scrub as well. Cause you can eat it. :)
It just takes sugar and honey:
I’m not going to give exact measurements here and I know that will stress some of you out – but I found you just mix till it’s the right consistency. You really can’t mess it up!
I just did a small batch for this one as a lip scrub:
You’ll want to make sure it’s thick and pasty but not too dry. This is a great hand scrub as well! I know honey can get expensive though so I think this one is best for the lips.
My sister came over a couple weeks ago and whipped up this super easy scrub for Mother’s Day:
Again, only two ingredients! I LOVE coconut oil and use it all the time when cooking, but it’s great for your skin as well. I added a few drops of lavender oil to it as well.
Coconut oil isn’t cheap either, so this next one is the cheapest version I’ve found and it works GREAT:
Just mix sugar and dish soap. Done. Extra points if you have pink soap! :) I just used what I had so the slight color was a bonus. I used one cup of sugar and just poured and mixed the soap till it was the consistency I wanted. Test it out as you go to see if it’s just right.
SUPER simple and super cheap! I love this one because when you use it with water it foams up just a bit.
I found two glass containers in my stash and then used Target dollar spot goodies to label the scrub:
I simply cannot walk away from the cute craft stuff in that aisle so it was nice to put the little stickers and stamps to use:
So there you go! Three easy scrubs with only two ingredients each!
I’ll combine these with gift cards and some other goodies for the teachers:
And at least this part of the gift was free! If you don’t have dish soap and sugar you’re looking at less than five bucks to make quite a few of these. This would have been perfect for my boy’s preschool days when we had six or seven teachers to buy for!
Do you do anything special for the teachers at the end of the year? Are you ready for summer?


