Hey heyyyy! How was your weekend? Have I mentioned how wonderful our weather has been? One or 50 times? Yeah. It’s been awesome. 51.
I’ve been spending SO much more time outside this summer, I’ve truly enjoyed this season. I’ve been planting a bunch of new things, transplanting some, just enjoying our outdoor space and the flowers.
I wrote last summer about my pathetic hydrangeas and how I was the pretty much the worst hydrangea parent EVER. They hated me. I’ve learned a ton about them since and figured I’d share my new knowledge. (So many great tips in the comments of that post!)
Mine still have a long way to go, but I as long as we don’t have a scorching summer next year, I think they’ll do even better. It’s SO exciting to see them actually grow and bloom this summer! Seriously a thrill after I’ve worked so hard to help them along.
They were sad and pathetic last year, really. The biggest surprise I got a few weeks ago were the start of blooms on my limelight hydrangea. I’ve had it three years people – not one bloom till now. Here is was last summer and now:


It’s now FILLED with beautiful white blooms! They’re all only about half way done too, so in a week or two it will be full of puffy white flowers:
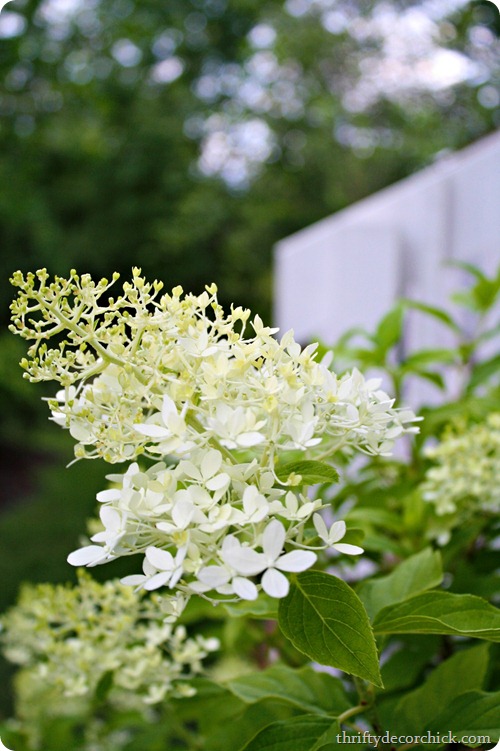
So here’s the first piece of advice – the sleep, creep, leap saying is true. Most plants I have planted follow this – the first year they don’t do much, the second the come along a little bit and the third they leap! I got this guy on clearance at the end of the season two summers ago and last year you can see that it grew, but didn’t do much else.
The third year (this year), it has doubled in size and is full of blooms. I think with hydrangeas you just need to have patience. Which is hard when you buy one full of blooms and then it poops out on you.
Here’s another biggie – you will see hydrangeas everywhere in full sun all the time – I see them at restaurants, stores, churches, drive throughs – everywhere. But mine did horribly in full sun:


I showed you these last summer – I’d had them for two or three years at that point? Not one had ever bloomed, they all barely grew, it was just sad. Sad sad SAD.
Now those three look like this:

The one on the left has grown a TON from where it was (it was the smallest one) but it’s still not blooming. The other two have done great! They just don’t have a ton of blooms right now because I cut so many of them a few weeks ago. ;)
These are the mophead variety, and they have really strong, beautiful leaves too:


The leaves on that pink plant are especially hardy, dark and pretty.
Tip two – they do best in morning sun and afternoon shade (or dappled shade). Mine in afternoon shade (these above) do even better than those in the back that get the dappled shade. If you are having problems getting yours to grow – try moving them to a spot where they’ll get some rest from the heat in the afternoon.
I found some PeeGee trees on clearance a couple years ago and was so excited – they are basically a hydrangea tree. The year I planted them they did great for the rest of that season, but last year they looked like butt, like the rest of mine:
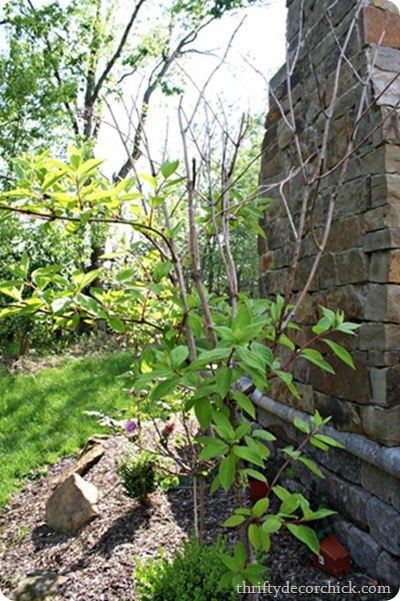
Now, they are amazing!!:

They are both blooming and full and doing great.
Here’s the thing (tip three) – hydrangeas need MEGA water. I mean, it’s in their name. :) Last summer was the complete and total opposite of this one here in Indiana – super hot, drought conditions – it sucked. This year we had a really wet early summer and it’s helped tremendously.
I just watch my plants – if they start to wilt at all I know they need water. They need a lot of it, but watch how you water them too. I’ve got one mophead that has a fungus on the leaves (it hit one of my peonies too) because we’ve gotten so much rain. If you can, water them at the base of the plant (not with a sprinkler) so the water goes right to the roots and doesn’t sit on the leaves. (The fungus will not really hurt the plant so I’m cutting off those leaves and letting it be. If it had happened earlier in the season I would have used something on it.)
The Pee Gee tree is a paniculata hydrangea, like the limelight I first showed you. These two have the more cone shaped flowers:

I much prefer the big round blooms, but these are beautiful too. They turn the most beautiful pink/green in the early fall – they are just gorgeous! I used them in this post a couple years ago: 
Aren’t they pretty?
I have about ten hydrangea plants out back now, and this one was my most recent addition:
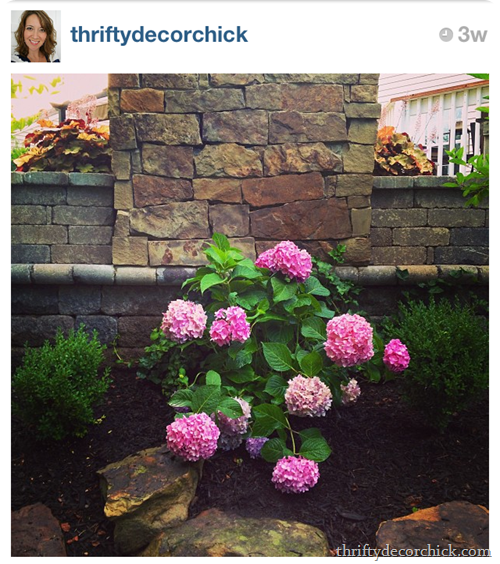
I shared it on Instagram – it was in full bloom when I got it and looked amazing! This plant was HUGE (I got it at a local nursery) and was $30 something dollars – you can find them half that size for the same price, so make sure to go big!
Those flowers are now done and are turning brown but the plant is doing great:
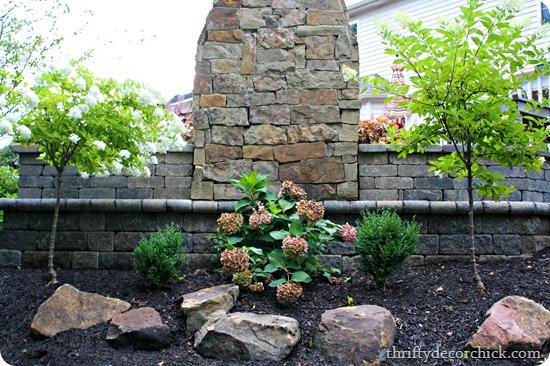
You can see my two PeeGee trees better here – they start to droop a bit as the blooms get bigger. (The one on the left is ahead of the other one by about a week.)
That brings me to another tip (number four?) – plant them in early summer or late fall if at all possible. It’s a lot of upkeep to keep them healthy and hydrated if you plant in the heat of mid-summer. I think the best time would be early summer so you can enjoy the blooms all season, but you can get some killer deals on them later in the fall, so it’s a hard call. I also think if you plant in the early summer you’ll have a better chance at a healthy, blooming plant the next year, since it has more time to get settled.
That huge mophead above was blooming pink when I bought it and the guy at the nursery said they will turn blue in our soil unless I changed the acidity. I have others that are blooming pink so I don’t know if it’s just this type? I was happy with that though because I have white, purple and pink and wanted blue:
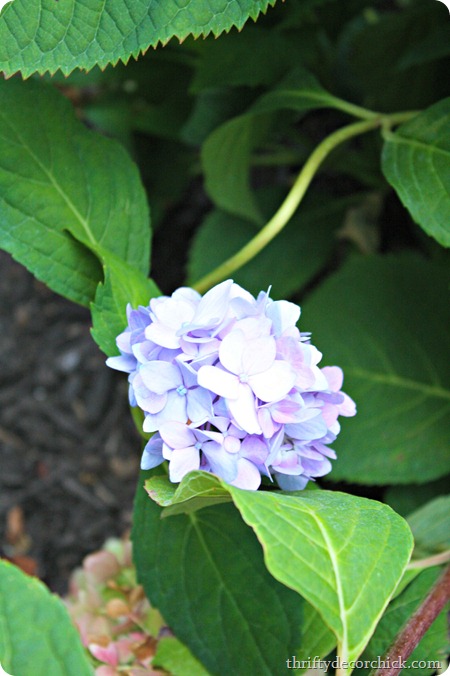
He was right! ;) The new blooms are blue.
Behind that one is a climbing hydrangea I planted last year:
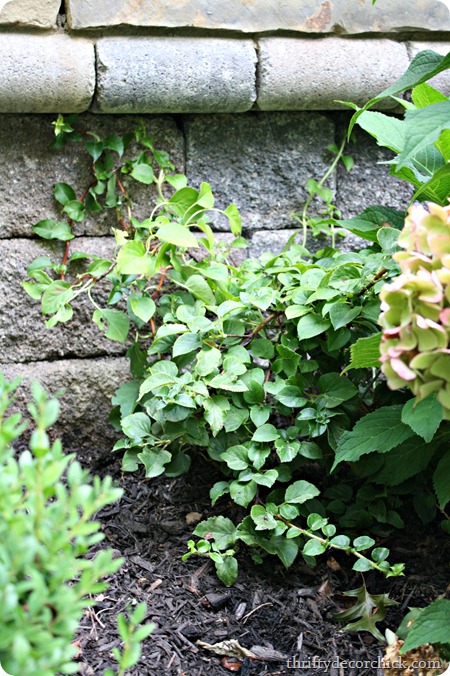
Again, the plant is doing great, but not a bloom in sight. It’s not going to bloom this year at all, I can tell. I’m moving that one to a different spot soon so we’ll see how it does there.
Around the corner from those are a few more – mostly mopheads and one surprise lacecap:

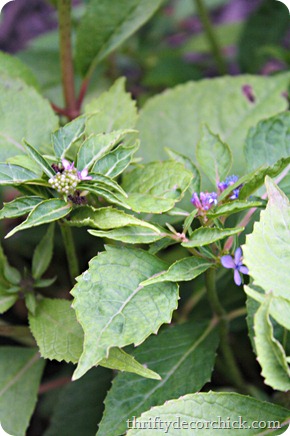
This is why you want them to be blooming when you buy. The lacecaps are more delicate – they have little bitty flowers that grow in the middle of the more traditional looking blooms. They are beautiful, but I just prefer the bigger fluffy ones. I am excited to see how these look when they are all blooming though!
Here’s my final big tip – I don’t prune my hydrangeas and they have done great this year. I mentioned earlier this year that I had pruned them and I misspoke a bit – I just (mostly) took all the dead wood off.
This can be tricky because sometimes it’s hard to tell between the normal and dead wood. Most hydrangeas bloom on dead wood – so you want to keep those ugly sticks like mine had last summer:

But I think it helped mine a ton to pull the dead wood out – they just shot up when I did that. I don’t know if it was just coincidence with the timing, but it seemed to help. I just pulled the dead stalks out of the plant – it will give easily if it’s dead. If it doesn’t, leave it.
I did trim down the Pee Gees just a bit though – just some of the tips that were total toast. And it seemed to work! I did this in May of this year – I’ve heard that’s a good time to do it if you’re going to. So I won’t cut them down this winter, and at best I’ll do a tiny bit of pruning next May, but that’s it. Otherwise I’ll leave them alone.
So that’s about it – I’ve learned a lot over the past year! I was determined because hydrangea are one of my all time favorites and I LOVE having them to cut and bring inside:


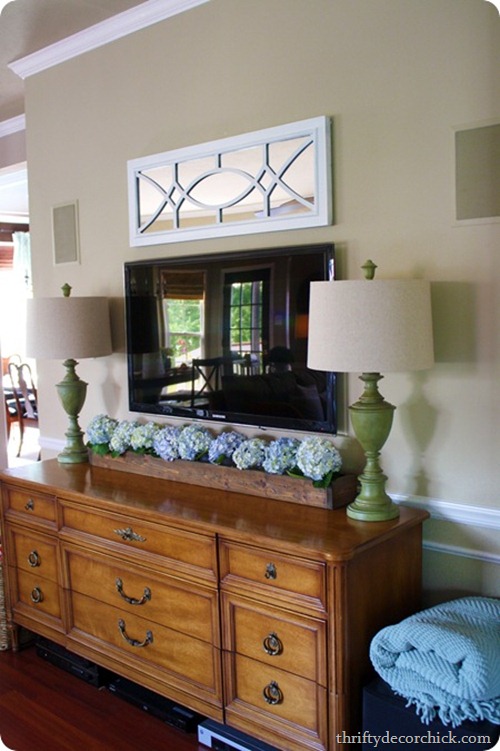
Mine still have a long way to go – most are still tiny compared to a mature plant. But they are doing SO much better than the past. I think I’ve finally figured out how not kill them! Bonus!
Here’s a few other tips:
- If your climate is too warm for hydrangeas, consider the Pee Gee tree. It loves full sun so it should do better for you.
- You can change the color of your blooms with some stuff from the nursery or hardware store, or there are DIY methods too. (I’ve heard nails, pennies, etc.) The color of your blooms depends on the acidity of your soil. (Other than the white ones – those can’t be changed.)
- It seems like they are high maintenance, but once established hydrangeas are easy to take care of – they just need WATER.
- You know those planted hydrangeas you find in the spring/early summer at grocery stores? Yeah, they aren’t really meant to be planted. I had no idea! Go here to read more about that. I still think my one plant that isn’t blooming may be one I got from the grocery that I planted years ago. If it doesn’t bloom next year I’ll replace it.
I hope that helps any of you who have struggled with growing this beautiful plant! Again, I’m no expert but I’m getting there. ;) I think the change I made that made the biggest difference was where I planted them – the afternoon shade is key, at least at our house.
Are you a hydrangea lover? Any great tips I’ve missed? Have you tried and failed at these?
**For more on that DIY wood trough with the flowers in our family room go here!


